Photoshop�����S���|�����w�֡�Ӣ��
����Դ�� Tutsplus.com�����x���� Rose �o�҂����������ʵ����£��̳�����Ҫ���زģ���ɳ�|��3D���w���OӋPS�̳��ز�
�ȿ���Ч���D

What You'll Be Creating
This tutorial will show you how to use Photoshop's 3D Tools, adjustment layers, and a couple of textures to create a dazzling, glittery, festive text effect. Let's get started!
This text effect was inspired by the many Layer Styles available on GraphicRiver.
1. How to Create a Text Shape
Step 1
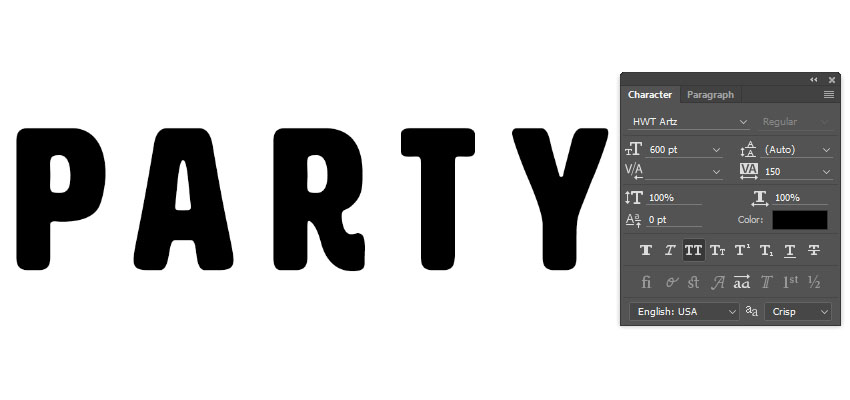
Create a new 3500 x 2000 px document.
Then, create the text using the font HWT Artz. Set the Size to 600 pt and the Tracking to 150 pt.
Step 2
Rename the text layer to Text, and then right-click it and choose Convert to Shape.

2. How to Create Stroke Layers
Step 1
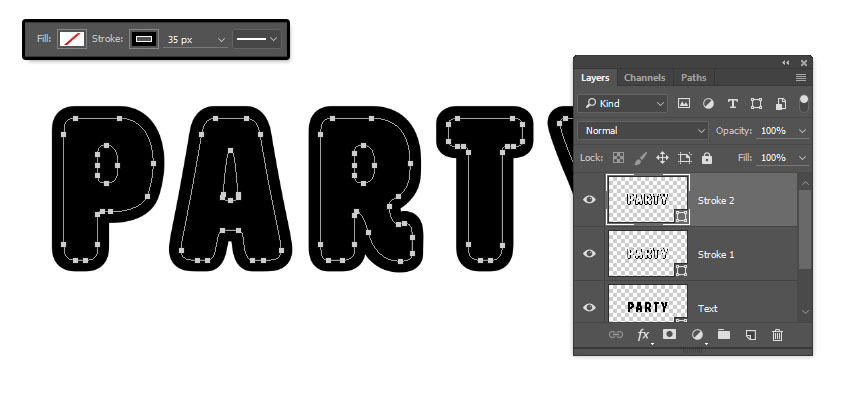
Duplicate the Text layer and rename the copy to Stroke 1.

Step 2
Pick the Direct Selection Tool (A) to get the shape options in the Options bar.
Change the Fill to None, the Stroke Color to Black, and its Size to 25, and then click the Set shape stroke type icon, and change the Align to Outside.

Step 3
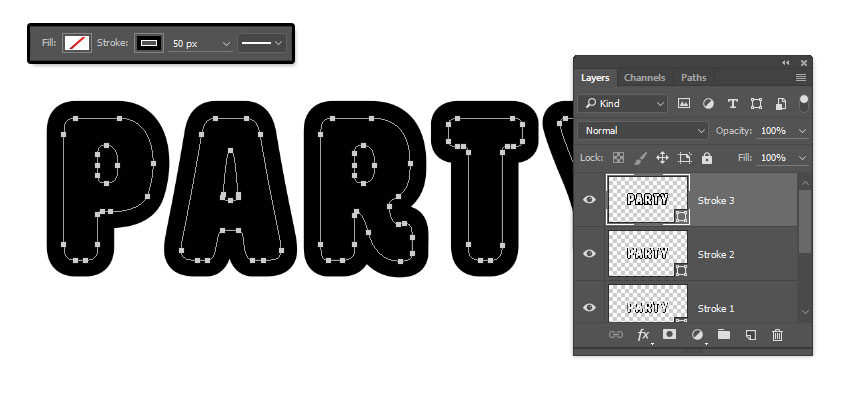
Duplicate the Stroke 1 layer, rename the copy to Stroke 2, and change the Stroke Size to 35.
Step 4
Duplicate the Stroke 2 layer, rename the copy to Stroke 3, and change the Stroke Size to 50.
3. How to Create 3D Layers
Step 1
For each shape layer you have, select it, and then go to 3D > New 3D Extrusion from Selected Path.

Step 2
Select all 3D layers you have, and go to 3D > Merge 3D Layers.

 ��ǵ���
-
 Photoshop�������L�������ƬЧ����Ӣ��2018-04-23
-
 Photoshop�ϳ��L����������L�i¹��Ӣ��2018-04-23
-
 Photoshop�ϳɱ�����Ч�Ľ��~������Ӣ��2018-02-10
-
 Photoshop�ϳɉ����L���ɭ�ֈ�����Ӣ��2018-02-10
-
 Photoshop�ϳ�����ʩ��������Ӣ��2018-02-10
-
 Photoshop���������|�е�3D���w�֡�Ӣ��2018-01-09
-
 Photoshop�OӋ����ȼ��ˇ�g�ֽ̡̳�Ӣ��2018-01-09
-
Photoshop�������L�������ƬЧ����Ӣ��
���P����11882018-04-23
-
 Photoshop�����@�G����3D���w��
���P����14682018-02-10
Photoshop�����@�G����3D���w��
���P����14682018-02-10
-
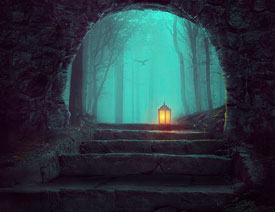
 Photoshop�������p���ع����w
���P����6532018-01-09
Photoshop�������p���ع����w
���P����6532018-01-09
-
 Photoshop����ľ�ذ�LOGO��ӡЧ����Ӣ��
���P����19272018-01-09
Photoshop����ľ�ذ�LOGO��ӡЧ����Ӣ��
���P����19272018-01-09
-
Photoshop���������|�е�3D���w�֡�Ӣ��
���P����4612018-01-09
-
 Photoshop�����Ż���M�ɵ�ˇ�g�֡�Ӣ��
���P����3802018-01-09
Photoshop�����Ż���M�ɵ�ˇ�g�֡�Ӣ��
���P����3802018-01-09
-
 Photoshop�����ɐ۵��ǹ���֡�Ӣ��
���P����6722017-12-25
Photoshop�����ɐ۵��ǹ���֡�Ӣ��
���P����6722017-12-25
-
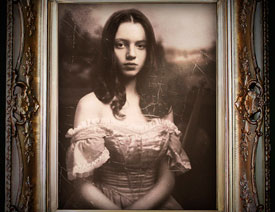
 Photoshop��������Ү�d��߹ⱳ����Ӣ��
���P����6002017-12-16
Photoshop��������Ү�d��߹ⱳ����Ӣ��
���P����6002017-12-16
